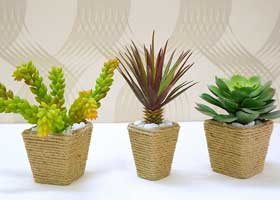
写真の左上にテキストを入れる
photo2.cssを参考「01-flexbox&写真にテキスト」
- 写真変更(3枚ダウンロード、サイズW280px)
- テキスト変更、バックグラウンドカラー変更してみよう

NEW
SALE
Sold out
HTML
<div class="b-box">
<div class="s-box">
<img src="img/ph1.jpg" alt="plant1">
<p class="new">NEW</p>
</div>
<div class="s-box">
<img src="img/ph2.jpg" alt="plant2">
<p class="sale">SALE</p>
</div>
<div class="s-box">
<img src="img/ph3.jpg" alt="plant3">
<p class="soldout">Sold out</p>
</div>
</div>
CSS
.b-box {
display:flex;
justify-content:space-between;
flex-wrap: wrap;
margin: 40px 0;
}
.s-box {
width:30%;
position: relative;
}
.s-box p {
position: absolute;
top: 0;
left: 0;
}
.new{
background-color: green;
color:white;
padding: 0 5px;
}
.sale{
background-color: red;
color:white;
padding: 0 5px;
}
.soldout{
background-color: black;
color:white;
padding: 0 5px;
}
@media screen and (max-width: 767px) {
.b-box {
flex-direction: column;
}
.b-box .s-box {
width: 100%;
}
}
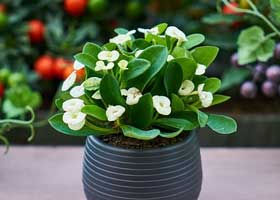
写真のセンターにテキストを入れる
photo2.cssを参考「02-写真のセンターにテキスト」
- imgフォルダー「sea.jpg」を使って作成してみよう

KERMIT
HTML
<div class="example">
<img src="img/flog.jpg" alt="カエル">
<p>KERMIT</p>
</div>
CSS
.example {
position: relative;
}
.example p {
position: absolute;
top: 20%;
left: 50%;
-ms-transform: translate(-50%,-50%);
-webkit-transform: translate(-50%,-50%);
transform: translate(-50%,-50%);
margin:0;
padding:0;
color: white;
font-weight: bold;
font-size: 5em;
}
.example img {
width: 100%;
}
@media(max-width:600px){
.example p{
font-size:25px;
}
}